ALIGNING THE HULL
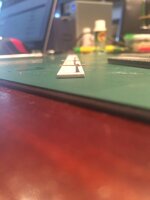
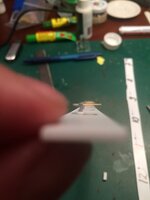
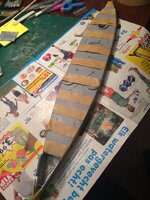
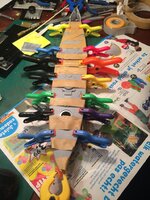
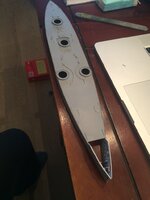
189. The last couple of weeks I'd anticipated problems in the aligning of the hull. Something just wasn't right but I didn't succeed in finding out what exactly. After appr. half of the hull (from abaft) had been glued it became clear that the bottleneck was to be found near the hull's center. Comparing drawing and plastic, the culprit was clearly the starboard side. I had not expected that, as I had been very busy with the port side and had thought that part had been bent during handling.
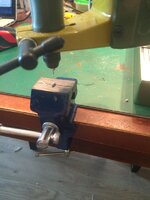
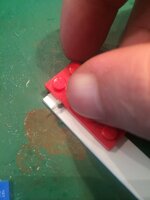
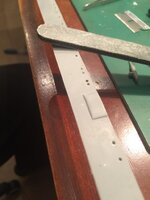
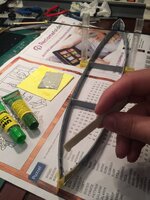
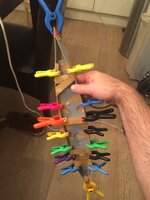
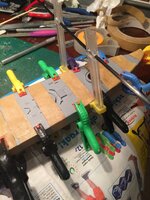
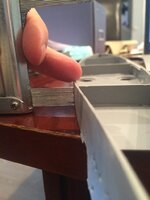
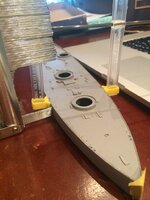
The big clamp was positioned as seen in the next picture. See the positions of the yellow grips (one is high, the other is low), that takes care of the bend / pressure. After I had set the right position, I started heating the spot to be bent with a hair blower. Before too long the heat caused the recently mended spot to break again. No problem however, as this was apparently the spot of torque. It can simply be sanded flat and, if necessary, filled.
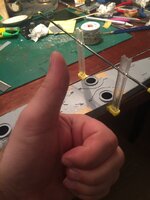
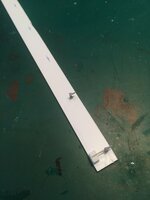
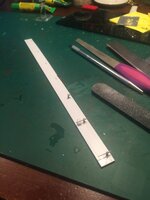
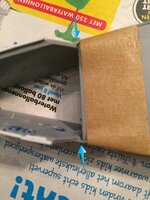
190. This is the spot to be sanded.
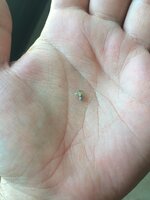
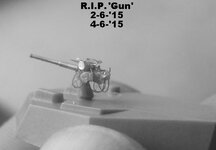
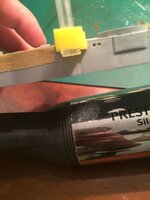 R.I.P. CANNON... FORTUNATELY!
191. I decided to tweak this thingy juuuust a little bit more. Browsing through the Roberts' book I learned that the 10 12-pounders on the turrets
could be connected to the main guns underneath, for practicing purposes. While connected, the 12-pounder would aim at about the same direction as the 12-inch main gun. That was a cheap way for the gunners to practice. Looking at quite a few pictures from around 1907 I saw in about 95% of them that the guns had in fact been connected. So I'll do the same on each of 5 turrets.
This means that I have many more elevator wheels on my WEM photo etch sheet than I'll use on the model. They are so very small that I'll not be confident to use them in my build without spares. Now I had about 20 spares. That's a risk to take.
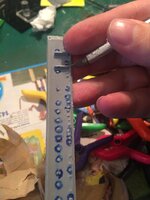
So I took off the (slightly too thick & unreliefed) plasticard wheels I had attached to both sides of the gun. On the right side (can't really say starboard side because some guns are pointed abaft) I removed some excess glue.
Long story short, the wheels were positioned and all went fine... little other part loosened... was reglued... other little part was detached... reglued... then all of a sudden, after all this handling time, the barrel started to come loose. Grr! I refitted... once more... CA glue got stuck in the locator hole... wires had tangled up...sighting gear started to move... it really started to fall apart.
The culprit is, at least according to my humble opinion, mainly Gator Grip glue. As stated before, it is just not opportune for tiny parts like these. It's too flexible and brittle. And it dries too quickly, almost immediately if working underneath a warm lamp. No time to attach the little copper wire pieces. The flexibility I had also experienced with Gator Grip Thin Blend. And maybe it's good for certain purposes, but not for building a 12 millimeter long miniature gun. I had to find a way to use either CA or Gator Grip to get a strong, inflexible bond involving as little debris as possible.
I had a long night of sleep and when I woke up the first thought was of the broken gun. 15 hours of work for nothing... or? Then lightning struck me: Gator Glue (!) .... why change a winning team (part 2)...?
Ok some history about this build. A year ago I had never used 'Gator Glue' before, always CA or PVA. But I had heard good things about the stuff. So I ordered a bottle. That was "Gator GLUE", NOT "Gator GRIP", the latter being the glue I "should" have bought.
I used the Gator Glue for attaching the 'eyebrows' to the hull. All went perfect:
1) Unlike many other glues, it's quite tacky so even the smallest parts will stick right away.
2) Processing time appr. 20 minutes.
3) The tiniest amount of glue suffices.
4) Strong bond after 30 minutes.
5) Completely inflexible, like CA glue.
So why, for heaven's sake, did I turn to Gator GRIP? Well I had heard that I had actually made a mistake: Gator GRIP was the REAL hobby glue. I thought, well let's try Gator GRIP then. It was a nice prospect that it would dry to full transparency. And the biggest disadvantage of Gator Glue: only 8 or 9 months of shelf life; Gator Grip would have much longer shelf life.
Bottom line: I'll go back to Gator GLUE. It may not be branded as special modelling glue but it works perfectly as such. I'm fully convinced Gator Glue will solve my problems with the 12 pounder. And it will be much easier to construct it. Have already done some tests and all things I had trouble with using Gator GRIP or CA went all too easy using Gator GLUE.
Maybe in the future I'll use Gator Grip again, e.g. for windows (transparancy), railings (flexibility) or objects with larger bonding areas, but in all until now Gator Grip has been a real letdown.
Anyway, it took me one ruined 12 pounder gun to realize this. So that build was not a waste of time at all.
I advise you all to have a go at Gator Glue, it's really a perfect glue for applications tiny as these.
The current state of affairs:
 Spent time thus far: 140 h.


 ).
). 


