Samenvatting van het onderstaande:
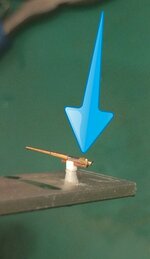
Druk bezig met de linker beschermingskap voor de schutter. Het is een klein messing plaatje van slechts 0,8mmx1,66mm. dat eerst halfrond gemaakt moet worden, waarna er een lipje omgebogen moet worden. Dat laatste is uiteindelijk gelukt. Na plaatsing van de kapjes op de kanonnen, worden de lipjes nog bijgevijld. Fantastische lijm, die Gator Glue (ik bedoel dus niet Gator Grip)... het bijvijlen van de lipjes ging prima en geen van de kapjes (die toch maar met een druppeltje lijm vast zitten) is losgeraakt.
Voor de geïnteresseerden heb ik de oorspronkelijke Engelse teksten bij de foto's laten staan. Heb je ergens een vraag over, schroom niet hem te stellen! Voor een toelichting waarom ik dit topic in het Engels schrijf, zie hier.
240. Section 2, the left protector shield! It has to be 0,8mm. wide. Making a fold line:
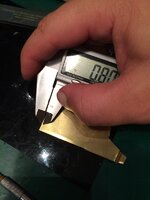
241. Folding back and forth a couple of times, using a photo etch tool, provides for a neat cut.
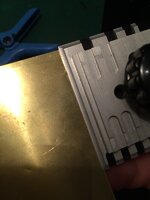
242. The resulting strip has to be divided into 1,66mm. parts.
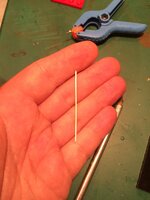
243. That's done by bending it on the blade of a hobby knife, and again folding back and forth a couple of times. Using tweezers for grip, the edges are filed to desired length.
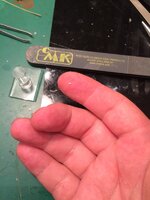
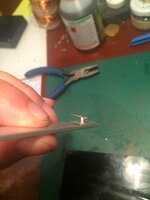
244. Holding the part between tweezers, I use a nail file to pre-bend it.
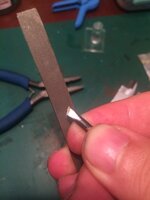
245. Two pincers' teeth are used as a jig for curving the plate. Curving is done around a small needle (thinner than the pin seen on the picture).
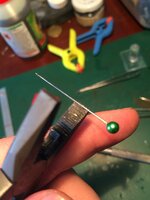
246. Then, this curve has to be made:
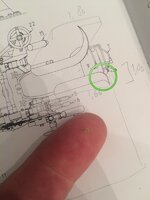
247. The plate is again put between pincers and needle, but a fraction if left
outside the pincers. Pincers are tightened hard! And then, a nail file is used to make the flap.
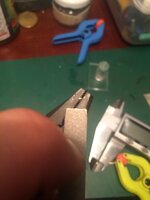
248. The preliminary results:
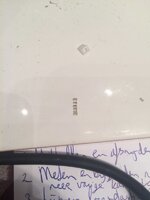
249. Added to the guns:
250. ... and filed a bit, to make them rounded and at the correct width. It's a testament to Gator Glue's (=another glue than Gator's Grip!) power to see that none of the just-added parts had loosened notwithstanding only having used a tiny drop of glue.
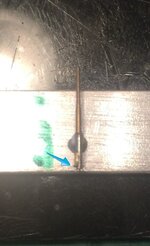
251. The curve can be seen here:

 Spent time thus far: 191 h.


