Hi Gents
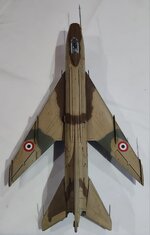
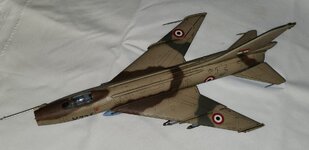
Here is the SU -7 that I started a week before the site went on Vacation. It was supposed be be a quick build to get the mojo back but took a bit longer than i wanted.
About the Kit :
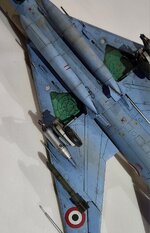
The cockpit is a disaster , almost no detail. the aftermarket parts are 3 times the price of the kit , so no that was not going to happen
Also needed to cut 1 - 2 mm from the base of the ejection seat to lover it or the canopy does not fit.
Fuselage halves were different thicknesses so trimming of the engine Supports is required to get all to line up
Once trimmed fit was perfect.basically no putty needed
Air brakes were way to thick so they were glued in the closed position and sanded level with the fuselage.
Decals are not good at all, very old and thick , needed decal adhesive as well to get them to go down properly also had one or 2 break up on me.
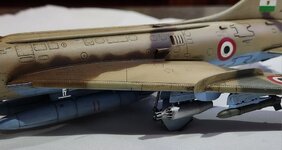
I did end up Scratch building the Wheel bay doors as the kit ones would have been a foot thick if scaled up didnt look right and would have detracted from the build.
Antenna were made from .05mm wire
Detail was good and took a wash nicely
Paint used was Vallejo and AK with MR Hobby mat clear.
Will I build it again, Probably yes.
Here the pics,
Please enjoy
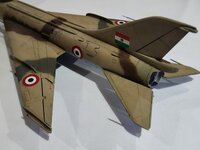
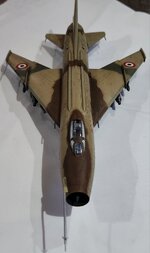
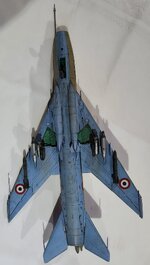
Thanks for looking guys
AS usual comments are always welcome
G
Here is the SU -7 that I started a week before the site went on Vacation. It was supposed be be a quick build to get the mojo back but took a bit longer than i wanted.
About the Kit :
The cockpit is a disaster , almost no detail. the aftermarket parts are 3 times the price of the kit , so no that was not going to happen
Also needed to cut 1 - 2 mm from the base of the ejection seat to lover it or the canopy does not fit.
Fuselage halves were different thicknesses so trimming of the engine Supports is required to get all to line up
Once trimmed fit was perfect.basically no putty needed
Air brakes were way to thick so they were glued in the closed position and sanded level with the fuselage.
Decals are not good at all, very old and thick , needed decal adhesive as well to get them to go down properly also had one or 2 break up on me.
I did end up Scratch building the Wheel bay doors as the kit ones would have been a foot thick if scaled up didnt look right and would have detracted from the build.
Antenna were made from .05mm wire
Detail was good and took a wash nicely
Paint used was Vallejo and AK with MR Hobby mat clear.
Will I build it again, Probably yes.
Here the pics,
Please enjoy


Thanks for looking guys
AS usual comments are always welcome
G


 nice , i like it